How to Screen Record on a Laptop: From Beginner to Master
🤔Have you ever wanted to screen record on a laptop but been put off by complicated procedures and high costs? In fact, screen recording is far easier than you think! 📢Today, I’m going to reveal four simple and practical screen recording methods that both beginners and experienced users can easily handle, allowing creative expression to flow freely.
📌Built-in System Tools – Mac/Windows
📌Desktop Software – WorkinTool RecWit/VidClipper
👀Now, Let’s dive into the following content.
How to Screen Record on a Laptop: From Beginner to Master
💥Have you ever experienced moments like these? During an online meeting, when it gets to the crucial point, you scramble to take notes but still miss out on many key details; in an online class, when the teacher shares problem-solving strategies, you’re so eager that you’d give anything to pause time; in a game, after finally pulling off an epic move, you can only brag about it verbally… 👏How wonderful it would be if you could record the content on your laptop screen in its entirety anytime, just like taking a photo! 🉑Don’t worry. Today, I’m here to teach you how to screen record on a laptop, so that every amazing moment can be perfectly captured and never missed again!
🔎Why Do We Need to Record the Laptop Screen❔
Screen recording is not a single-function feature but a practical skill that covers multiple scenarios. Only by clarifying your specific needs can you choose the optimal solution.
✨Work Scenarios: Meeting recording, remote collaboration, software function demonstration
✨Learning Scenarios: Online course recording, knowledge sharing, operation tutorial production
✨Creation Scenarios: Game live – streaming, material collection, design process recording
✨Personal Use: Saving temporary content, recording system issues
✅Built-in Screen Recording Functions of the System
1️⃣Mac System
🎈The steps are as follows:
◼Press the key combination “Shift + Command + 5” or use Spotlight search (press Command + Space, and type “Screenshot”) to bring up the screen recording tool.
◼Select “Capture Entire Screen” or “Record Selected Portion,” and then press “Start Recording.” During the recording process, a status display will appear at the top of the screen.
◼Press “Shift + Command + Esc” to end the recording. The recorded video will be automatically saved to the desktop in the default “.mov” format.
2️⃣Windows System
🎈The steps are as follows:
◼Press the shortcut key “Win + G” to open the Xbox Game Bar. If it’s your first time using it, you need to go to your computer’s settings, find the “Gaming” option, and enable this feature.
◼In the pop-up interface, click the “Start Recording” button or use the shortcut key “Win + Alt + R” to start recording directly. The recording duration will be displayed in real-time during the process.
◼After the recording is complete, press “Stop Recording.” You can play the video file in “View My Captures,” which also supports additional operations such as deletion and sharing.
📍Third-Party Screen Recording Software
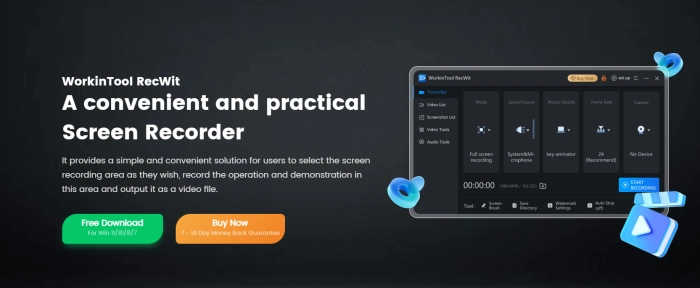
🥇WorkinTool RecWit
This is a convenient and practical screen recording software. It supports full-screen, region-specific, and game recording modes to meet various needs. It also offers a wide range of audio and video tools for easy post-editing and optimization of recorded content.

🎈The steps are as follows:
◻1, Visit the official website and open the software after installation.
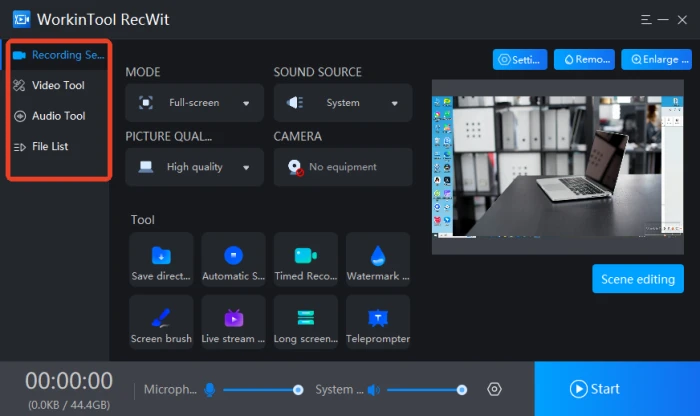
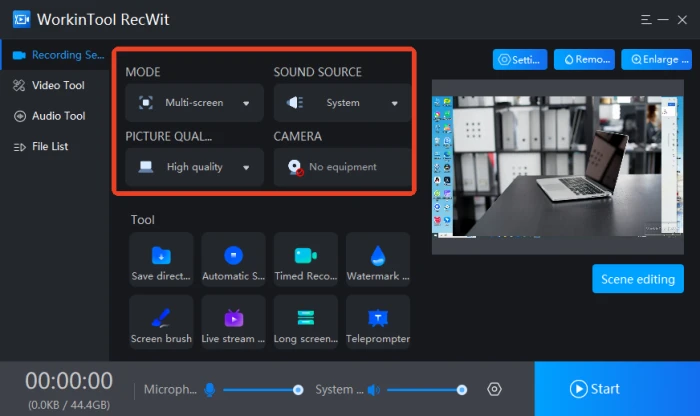
◻2, Select the recording mode according to your needs, and then set the sound source, picture quality and camera.
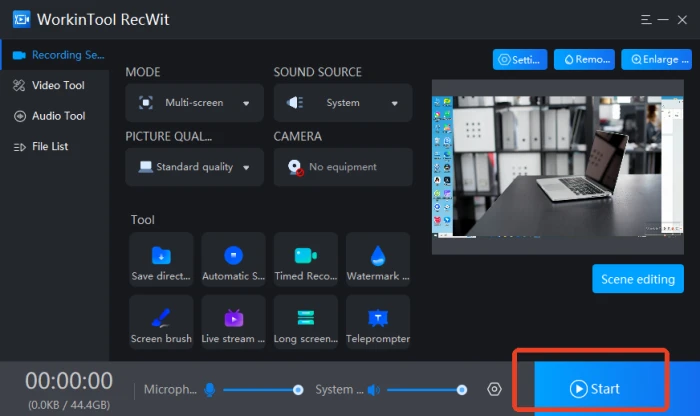
◻3, Press “Start” or use the default shortcut key “Alt + F1” to start recording the screen operations.
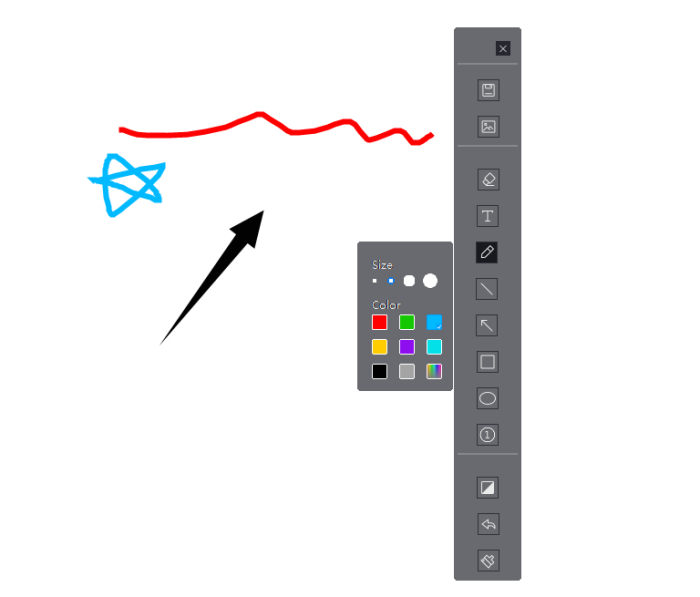
◻4, With the built – in “Screen brush“, you can perform editing operations such as adding annotations and inserting pictures.
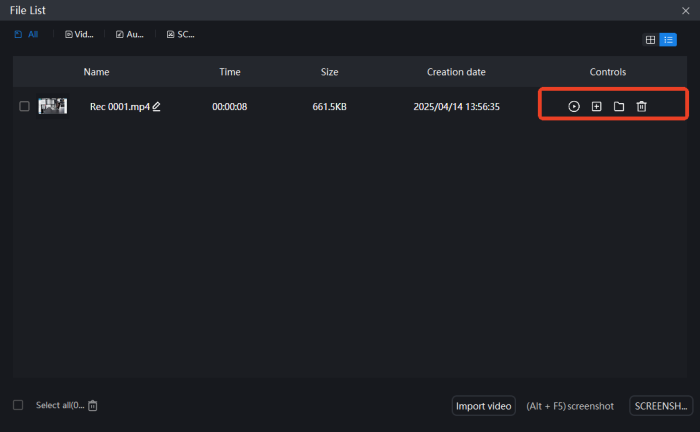
◻5, Press the default shortcut “Alt + F2” to end the recording. The video will be automatically saved to the file list, supporting playback and deletion.
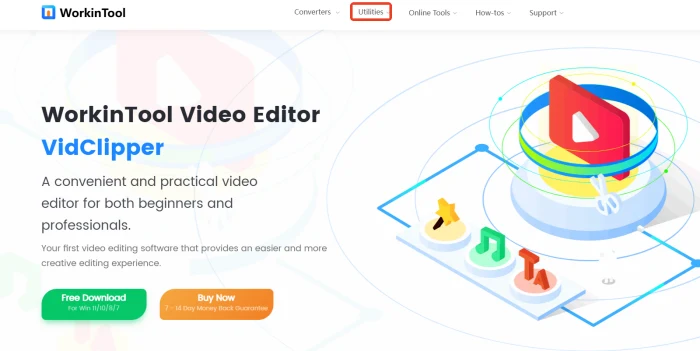
🥈VidClipper
This is a professional video editing software with a simple and intuitive interface. Even beginners can quickly get started. It integrates multiple practical tools, including screen recording, and supports high-definition recording, making it suitable for various scenarios.
🎈The steps are as follows:
◻1, Download and install the software on your computer and then open it.
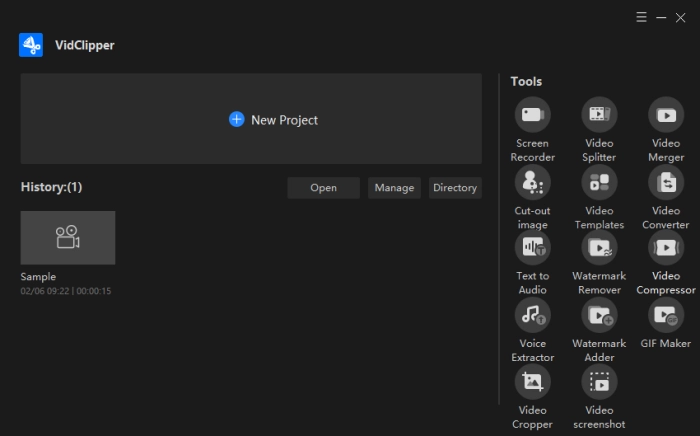
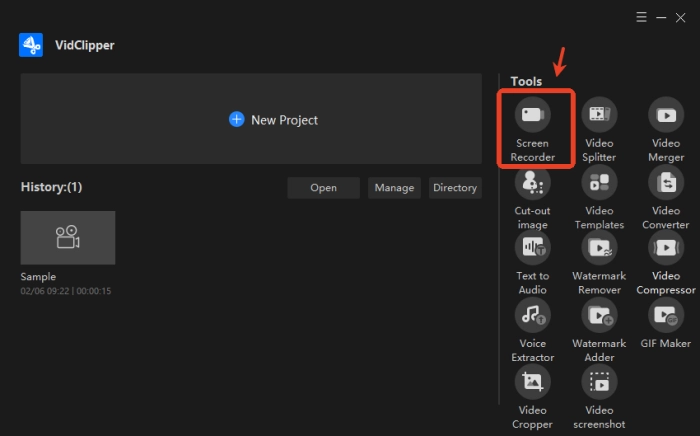
◻2, Click on “Screen Recorder” in the toolbar on the right side of the interface.
◻3, Set the Screen, Audio,Quality, and Format according to your needs.
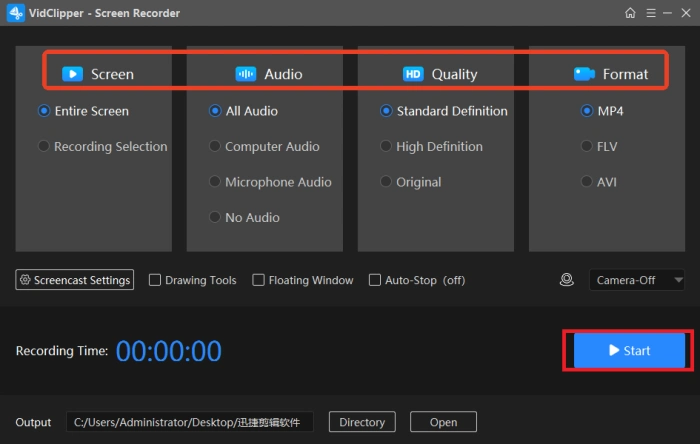
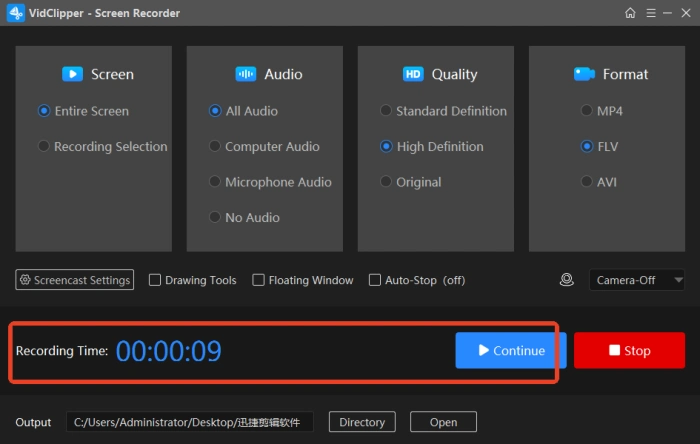
◻4, Press the “Start” button. It supports pausing or resuming the recording at any time.
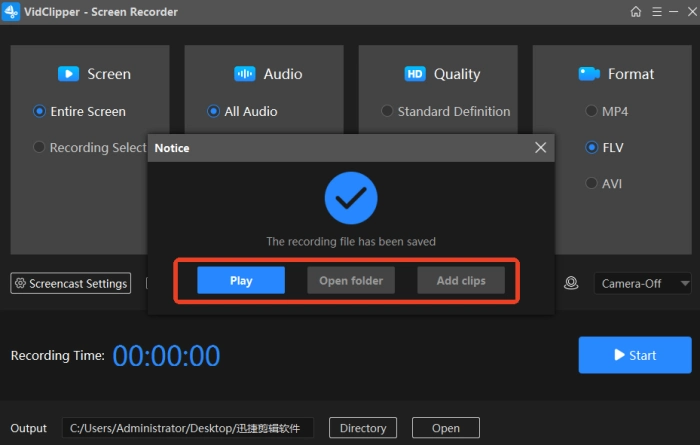
◻5, Once the recording stops, the file is automatically saved. You can play it with a single click or add it to your editing materials.
📝Comparative Analysis
| 📌Mac Built-in Screen Recording | 📌Windows Built-in Screen Recording | 📌Third-party Screen Recording Software | |
| ◽ Operation Complexity | Simple, one-click start, easy to use | Intuitive, quick start with shortcuts or Xbox Game Bar | Requires configuration, rich features, best for professionals |
| ◽ System Compatibility | Native support for Mac, no installation needed | Native support for Windows, no installation needed | Cross-platform, requires download, may use more resources |
| ◽ Basic Needs Satisfaction | Meets most daily recording needs, including screen and audio | Meets daily needs, including game and window recording | Comprehensive, meets needs like multi-track recording, high-quality output, streaming |
| ◽ Special Features | Integrated with Mac, supports Touch Bar | Integrated with Windows, supports game recording and Xbox Live | Highly customizable, supports plugins, suitable for professional production and streaming |
🔔Conclusion
🎊With the comprehensive and detailed introduction in this article, I believe you have a solid understanding of screen recording on a laptop. 🔑If you prefer desktop software, WorkinTool RecWit is undoubtedly your best choice. It boasts a user-friendly interface and simple operation, and the ability to flexibly handle various screen recording needs. Even beginners can quickly get started and enjoy its efficiency and convenience. I suggest you download and use it right away!