How to Turn Screen Recording on | Methods and Tips to Share
In today’s digital era, screen recording has become an indispensable skill in our lives and work, helping us better save and share information. 🎊In this article, we will explain how to turn on screen recording in detail, covering the system’s tools as well as third-party tools.🧐 At the same time, we will share some practical screen recording tips to help you get started easily.🙋♀️
How to Turn Screen Recording on | Methods and Tips to Share
How to Turn Screen Recording on? ✨Screen recording is a convenient way to record information. 🙋♀️Whether it’s making teaching videos, recording game moments, demonstrating software operations, or simply showing others what’s on your computer or cell phone screen, screen recording can provide some convenience. 🥳However, depending on different devices and needs, there are various ways to turn on the screen recording function.💡

📝This article aims to provide you with a comprehensive guide detailing the many ways to screen record on different platforms and share some practical tips to help you master this skill with ease. 🔎With this article, you will be able to:
|
Next, we will introduce various screen recording methods and specific operation steps in detail, take a look!🥰
🔷First, the use of the operating system comes with a function to quickly open the screen recording.
Many mainstream operating systems have built-in screen recording features, which provide a convenient way for users to get started. While the functionality is relatively basic, it is sufficient for simple recording needs.🧐
1.Windows (via Xbox Game Bar)
✅ Windows 10 and higher have a built-in Xbox Game Bar that includes screen recording.
📍Steps to open: press the keyboard shortcut Win + G and the Xbox Game Bar float will appear on the screen.
📍Recording Steps:
- In the Xbox Game Bar hierarchy, find the Capture widget.
- Click the round “Start Recording” button (or press the shortcut Win + Alt + R) to start recording the currently running application window.
- During recording, a small recording status bar appears in the upper right corner of the screen, showing the recording duration and the stop button. Click the Stop button (or press Win + Alt + R again) to stop recording.
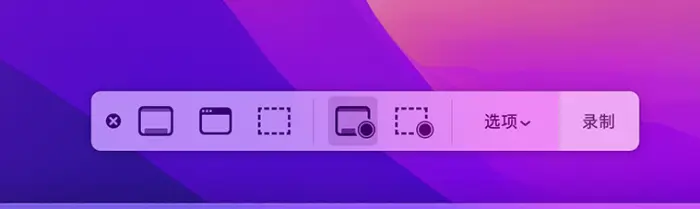
2.macOS system (via screenshot toolbar)
✅ The macOS system, starting with the Mojave (10.14) release, integrates screenshot and recording features into one toolbar.
📍Steps to open: Press the keyboard shortcut Shift + Command + 5 and a toolbar will appear at the bottom of the screen.
📍Recording Steps:
- In the toolbar, you can see the options to record the whole screen and record a selected portion. Click on the desired recording mode.
- Click “Options” on the right side of the toolbar to set the save location, timer, microphone, and so on.
- Click the “Record” button on the toolbar to start recording, and click the Stop button to stop recording.
🔷Second, the use of third-party screen recording software to open the screen recording.
While the system comes with convenient features, third-party software is a better choice for scenarios that require more control, higher quality, or additional editing features.😉
1.WorkinTool RecWit
WorkinTool RecWit is a full-featured and easy-to-use professional screen recording software focused on providing a high-quality, flexible recording experience.🎯

📍Advantage:
- Multiple recording modes: support full-screen recording, customized area recording, window recording, and game mode recording, to meet the needs of different scenarios.
- Flexible audio and video settings: you can record system sound and microphone sound at the same time or select them individually; supports adjusting recording resolution, frame rate, picture quality, etc. to get the best results.
- Multiple output formats: Support MP4, AVI, FLV, GIF, and other mainstream video formats.
📍Usage:
Step 1: Download and install the WorkinTool RecWit software.

Step 2: In the main interface of the software, select the appropriate recording mode, such as “Full–Screen Recording“, “Area Recording” or “Window Recording“.
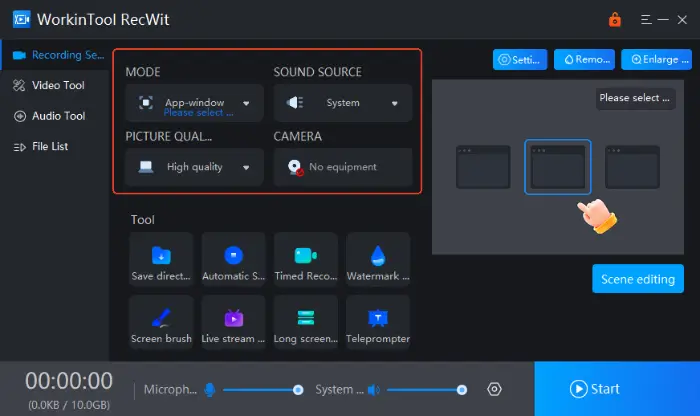
Step 3: After adjusting the recording quality, audio input, and other parameters according to your needs, click “Start“, and the recording will start after the countdown.
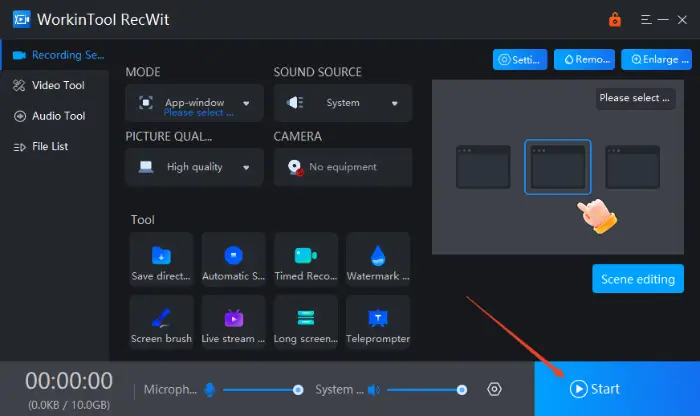
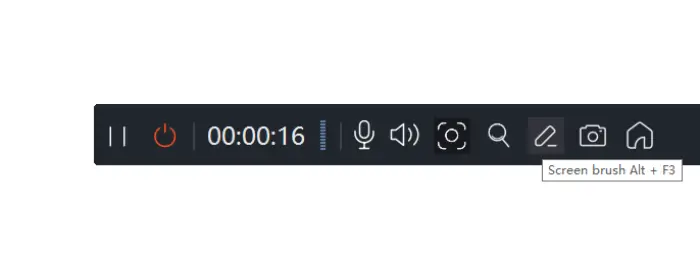
Step 4: During the recording process, you can use the toolbar to pause, take screenshots, or doodle in real-time. Click the “Stop” button to stop recording.
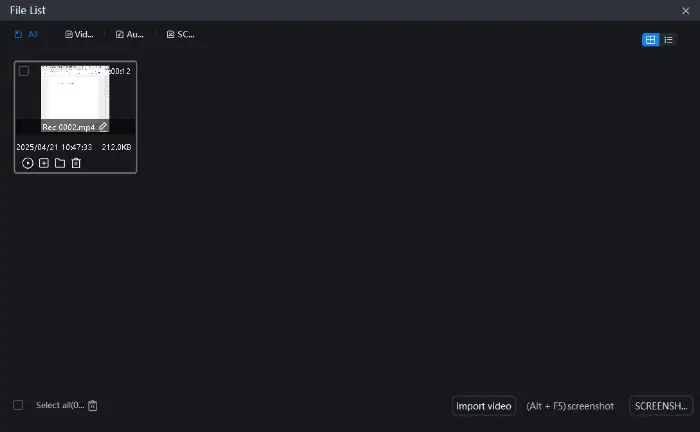
Step 5: After recording, the software will automatically pop up the list of recorded files, in which you can preview or directly save/export the video.
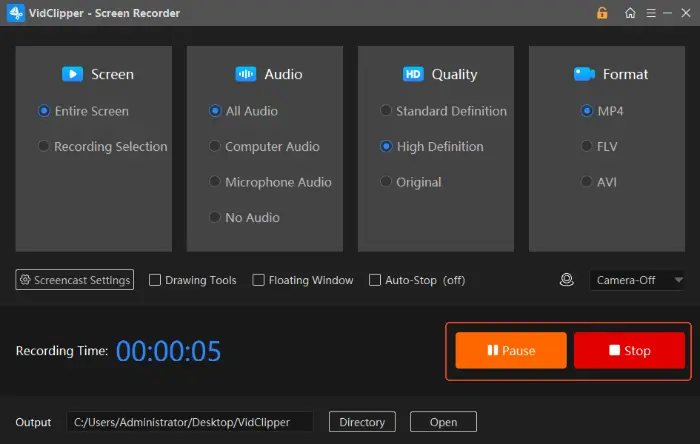
2.WorkinTool VidClippe
WorkinTool VidClippe is primarily a powerful video editing software, but it also integrates a high-quality screen recording feature.⌛ This makes it a very efficient option for users who need to record their screen and edit it immediately in post-production.🙋♀️

📍Advantage:
- High-quality recording: Provides flexible recording options, supports selecting recording area, adjusting resolution, frame rate, audio source, etc. to ensure clear and smooth recording effect.
- For content creators: especially suitable for users who need to create tutorials, reviews, demo videos, etc. that require a lot of post-processing.
📍Usage:
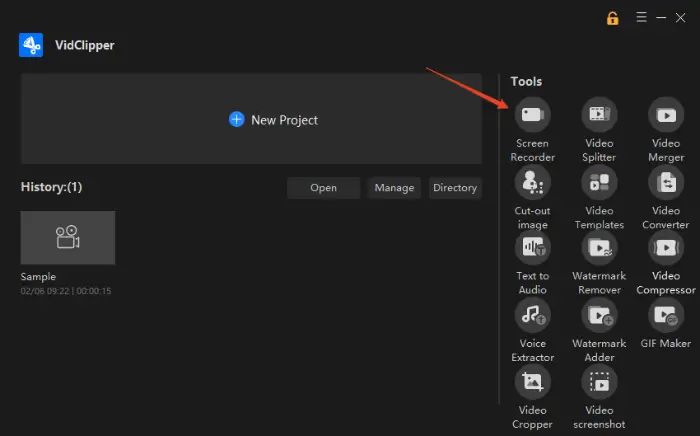
Step 1: In the main interface of WorkinTool VidClippe, find the “Screen Recorder” function entrance.
Step 2: After entering the recording interface, adjust the parameters related to screen recording, such as recording area, audio source, etc.
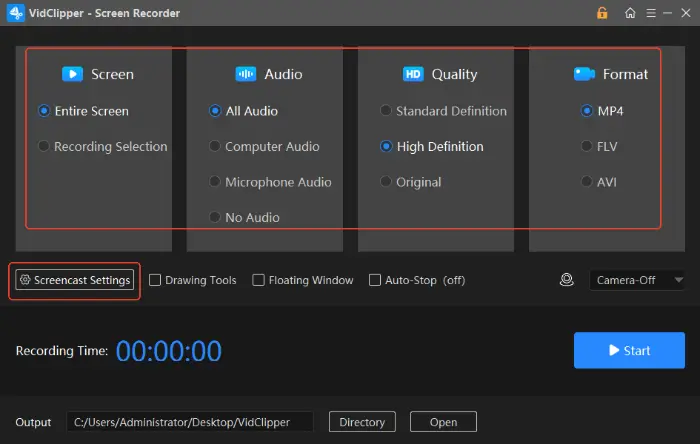
Step 3: Click the “Start” button to start screen recording. If you want to stop recording, bring up the action bar and click “Stop“.
🔹Third, how to choose the right screen recording tool.
With so many options to choose from, how do you find the best tool for the job?👀 It largely depends on your specific needs:
|
🔹Fourth, to enhance the screen recording effect of practical skills.
After mastering how to open and use the screen recording tool, some practical tips can help you record more professional, clearer, and attractive videos.
| 🔖Finesse | 📎Description/Purpose |
| Forward planning | Define the content and process of recording, write a script, or list the key points in advance to ensure a smooth and organized recording process. |
| Clean up your desktop | Close irrelevant windows and notifications and hide desktop icons to keep your screen tidy and avoid distracting your audience while protecting your privacy. |
| Adjusting resolution and scaling | Make sure the screen resolution is moderate and text and icons are visible, especially when recording tutorials. |
| Selecting the right recording area | Record only the necessary portions, avoiding recording private information or irrelevant areas of the subject, to make the video content more focused |
Knowing “How to Turn Screen Recording on” is a key step to efficient information recording and content creation. 🎊Whether you want to make simple recordings or professional productions, you’ll find the right tool for the job. 📢Combined with practical tips such as planning and clearing the desktop, you can surely improve the quality of recording. 🥰We hope this content can help you easily master screen recording and open up a new creative experience!🎉
Related Article
 How to Screen Record on Windows 11 | Methods to Share How to Record Screen in Windows 10: Methods and Tips How to Screen Record on Windows | Four Practical Ways to Share