How to Screen Record on Windows | Four Practical Ways to Share
💥Are you tired of those complicated and time – consuming recording processes? Sick of blurry and laggy recordings? Don’t worry! This article will walk you through how to record your screen on Windows and recommend four user – friendly tools to turn you from a beginner into a pro. You can effortlessly achieve high – definition, smooth recordings and take your content creation to new heights!
📌Desktop——VidClipper
📌Online——RecordJoy/Loom/ScreenCapture
🙋♀️Now, let’s start reading and experience them firsthand.
How to Screen Record on Windows| Four Practical Ways to Share
📢In the digital era, screen recording has been deeply integrated into our work, study, and life. Whether it’s for teaching, product demonstrations, game broadcasts, or meeting recordings, screen recording is crucial. 💡In this article, we will provide you with a detailed introduction on how to screen record on Windows, helping you accurately capture every important moment and easily enjoy the advantages of high – quality recordings.
✅Basic Concepts of Screen Recording
Screen recording refers to the process of capturing real-time operations, video content, or audio from your computer screen and saving it as a video file. It is widely used in teaching, training, gaming livestreams, software demonstrations, and more.
✅Recommended Screen Recording Tools
✨ VidClipper
VidClipper is a beginner-friendly yet professional desktop screen recording software. Beyond its core recording features, it supports video format conversion and editing, effectively solving various video-related challenges.

📝The steps are as follows:
1, Download and install the software on your computer and open it.
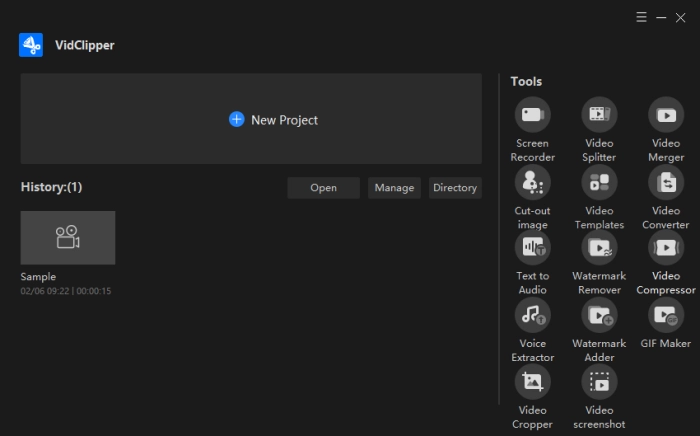
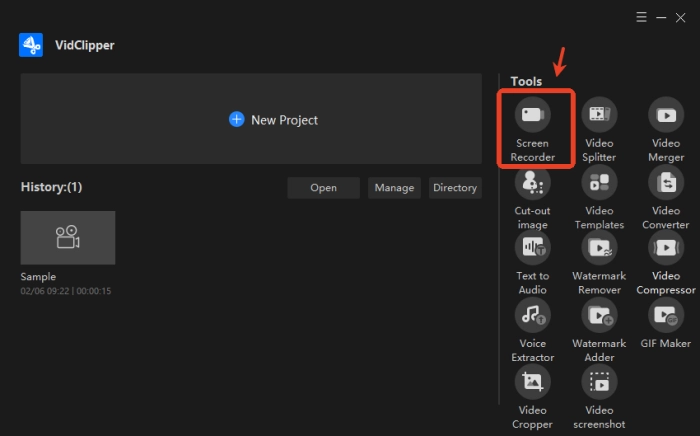
2, Select【Screen Recorder】 from the right-side toolbar.
3, Adjust screen, audio, quality, and format settings as needed.
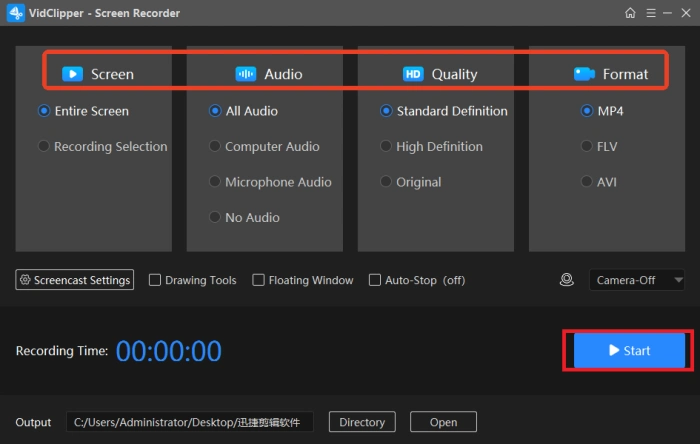
4, Click “Start”(Alt+F1), and pause or resume anytime.
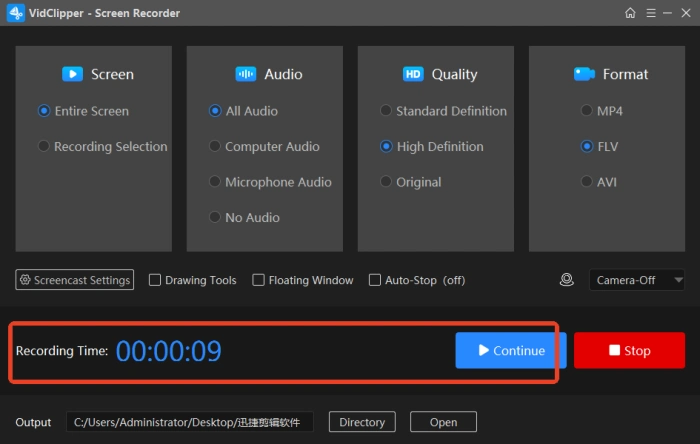
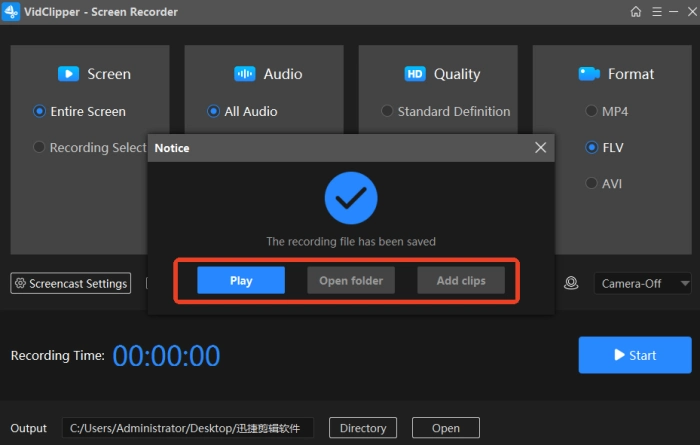
5, Stop recording to save the file. Play or add clips with one click.
✨RecordJoy
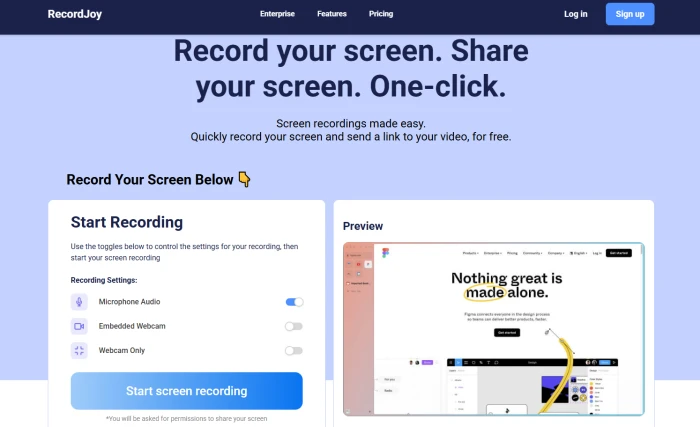
RecordJoy is an online platform that enables you to quickly record your screen and send a video link to share the recorded content. The core features include the synchronized recording of your screen, camera, and audio, and support for real-time preview, making it easy to control the recording effect at any time.
You can adjust the recording settings flexibly as needed, including whether to enable microphone audio, whether to embed the camera screen, etc., and then start recording. After the recording ends, you can also crop, add subtitles, and perform other processing to effectively improve the video quality.
✨Loom
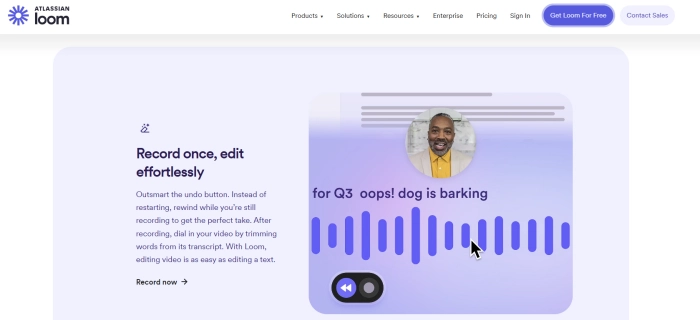
Loom is an online platform that integrates screen recording, video editing, and convenient sharing. With just a few taps, you can sync your screen and camera recordings, and the built-in AI technology makes video editing even easier and more efficient.
After signing up or logging in, you can select the area you want to record, grant access to the microphone and camera, and use the easy-to-use tools for annotation and editing. Once the recording is complete, it will be automatically saved to the cloud, and a shareable link will be generated for easy viewing and sharing anytime.
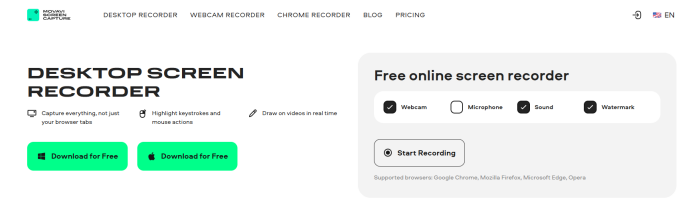
✨ScreenCapture
ScreenCapture is an online screen recording tool that can be used directly, without the need for downloading and installation. It supports Chrome, Firefox, Edge and other browsers, and easily captures full-screen and customized areas, and directly deletes unwanted clips after recording.
First, search for it in the browser and visit the site, then decide whether to enable the camera and microphone, set the recording mode, and start recording. During the recording process, you can draw, highlight the mouse, and perform other operations. Stop recording when you’re finished.
✅Screen Recording Tips
💚Optimize the recording environment
| ◽Clean up disk space: clean up disk space before recording to avoid recording interruptions due to lack of space.
◽Close irrelevant programs: Close unnecessary background programs to reduce the occupation of system resources to ensure smooth recording. |
💚Reasonable parameter settings
| ◽Adjust the resolution and frame rate: Adjust flexibly according to the actual needs, and reasonably balance the relationship between picture quality and file size.
◽Choose the right audio source: Make sure that the microphone and system sound are set correctly to avoid missing or distorted sound. |
💚Efficient use of shortcut keys
| ◽Familiarize yourself with common shortcuts: Like start, pause, stop recording, and so on. Mastering them can significantly enhance your operational efficiency.
◽Customize shortcuts: Tailor common shortcuts to your personal habits and preferences to streamline your workflow.
|
✅Screen Recording Precautions
| 🔎Progressions | 📍Descriptions |
| Before recording | 🔸Check the equipment: make sure the computer performance is good, enough memory, camera and other equipment have in normal operation.
🔸Clean the desktop: keep the desktop tidy, close irrelevant applications and windows to avoid interference and privacy leakage. 🔸Test Settings: Test the resolution, frame rate and other settings of the recording tool in advance, and then adjust them according to the actual needs. |
| Recording | 🔸Avoid frequent operations: minimize unnecessary mouse movements to avoid being distracted, and slow down appropriately when you need to emphasize.
🔸Pay attention to the sound quality: keep quiet, use the microphone to maintain the appropriate distance and volume, to ensure that the system sound and human voice coordination. 🔸Pause the recording at the right time: When encountering unexpected situations, you should pause the recording in time to avoid too much invalid content, but also save the time of post-production editing. |
| After recording | 🔸Check the recording content: immediately after the completion of recording playback to check the picture and sound, to ensure that there are no obvious errors or omissions, and find problems to re-record in a timely manner.
🔸Backup recording files: Name and categorize the files and backup them to hard disk or cloud disk to prevent loss and make it easy to find and manage. 🔸Simple editing: Crop irrelevant or redundant recorded screen content to optimize the final result, make it more professional and refined, and also improve the viewing experience. |
👀Conclusion
⏳Through the detailed introduction in this article, I believe we now have a deeper understanding of Windows screen recording. Once you’ve chosen the right software tools and mastered the practical methods and techniques, Windows screen recording will no longer pose a problem. 🔔I’d like to recommend VidClipper, which not only boasts an intuitive and user – friendly interface and a convenient and efficient operation process, but also can easily meet a variety of screen recording needs while ensuring the output of high – quality video content.
Related Article
 How to Stop a Screen Recording on QuickTime Player | Tutorial Share How to Record Last 30 Seconds on PC | 4 Practical Ways
  WorkinTool Capture Screen Recorder Review: Screen Record Anything