How to Enable Screen Recording | Easy to Understand the Procedure
In the digital era, screen recording has become an essential tool for information transfer and knowledge sharing.📢 Whether it is to create teaching videos, record the process of games, or conduct product demonstrations,✨ screen recording can help users capture and share screen content easily and quickly.🧐 This article will introduce a variety of screen recording methods:
🔹WorkinTool VidClipper
🔹Snipclip
🔹FlexClip
🔹ScreenToGif
I believe these methods can help you easily enable screen recording for different needs.💙
How to Enable Screen Recording | Easy to Understand the Procedure
How to enable screen recording? 👀Screen recording has become an indispensable skill in today’s increasingly digitalized world.✨ Many users may be confused about the exact operation and don’t know where to start.🙋♀️ Don’t worry, this article aims to provide you with a detailed guide to easily understand the many ways and specific steps to enable screen recording.🥰

🔎Guided Tour:
This article will cover the following areas to help you get up to speed on screen recording:
| 1.Utilize the built-in features of your operating system: Explore the convenient screen recording options that come with your system and get started quickly without installing additional software.✨
2.Introducing powerful third-party tools: Take an in-depth look at several screen recording tools, including WorkinTool VidClipper, Snipclip, FlexClip, and ScreenToGif, and analyze their advantages and detailed usage for more professional or specific recording needs.✨ |
We believe that by reading this article, you will no longer worry about the question “How to enable screen recording?” and will be able to confidently choose and use the screen recording solution that is right for you.🥰
Enable the built-in screen recording function of the operating system
Most modern operating systems have basic screen recording features built-in,🧐 perfect for quick and easy recording tasks,👀 take Windows 10/11 (Xbox Game Bar) for example:
1.Press Windows + G at the same time and the Xbox Game Bar overlay will pop up on the screen.
2.In the Capture window in the upper left corner, click the round Record button (or press Windows + Alt + R) to start recording. Click the button again or use the shortcut key to stop recording.
| 📝Note: Recorded videos are saved in the Video-Capture folder by default. Newer versions of Windows 11 also integrate screen recording into the Snipping Tool. |
Use a professional screen recording tool
Specialized third-party software and online tools offer richer functionality and greater flexibility when built-in tools are not enough.💡 Four tools, each with their distinctive features, are described below:
1.WorkinTool VidClipper
✨WorkinTool VidClipper is a powerful video editing software with screen recording capabilities. Users can easily capture full-screen or customized areas and support recording system sound and microphone sound at the same time.
✅Strengths:
- One-stop solution: from recording-to-editing without switching software.
- Flexible recording options: support for full-screen, selected region recording with customizable volume and audio source (system sound, microphone, or both).
- Rich Editing Functions: Provide editing, merging, adding effects, filters, transitions, text, music, and other editing tools.
🔮Operational Steps:
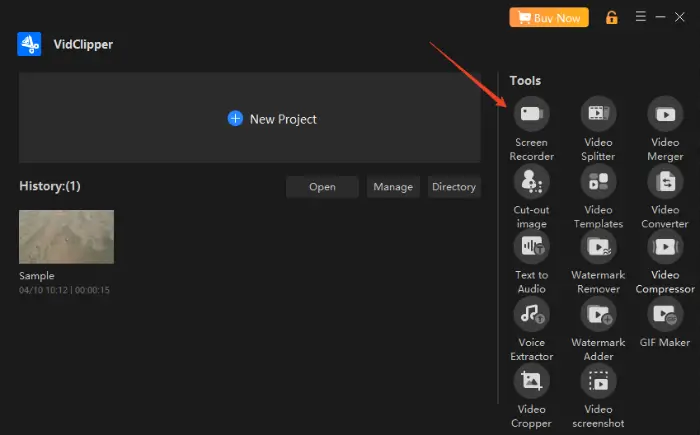
Step 1: Download and install WorkinTool VidClipper software.
Step 2: In the main interface, you can see the “Screen Recorder” function, click to enter.
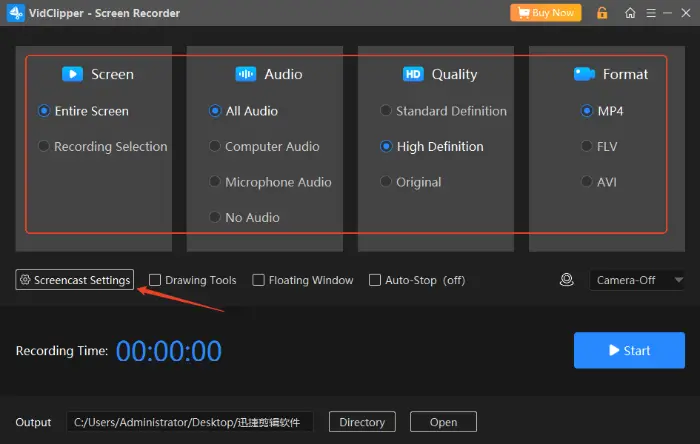
Step 3: In the Recording Settings interface, select the recording area, and configure the audio input and other parameters.
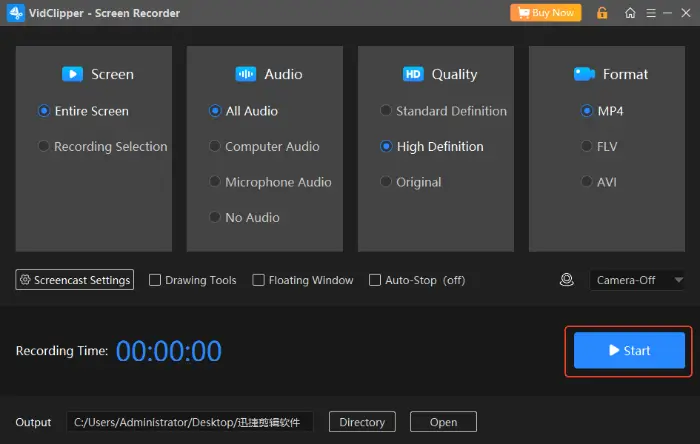
Step 4: Click “Start“, the software will start to record the screen content. When the recording is finished, click the Stop button.
2.Snipclip
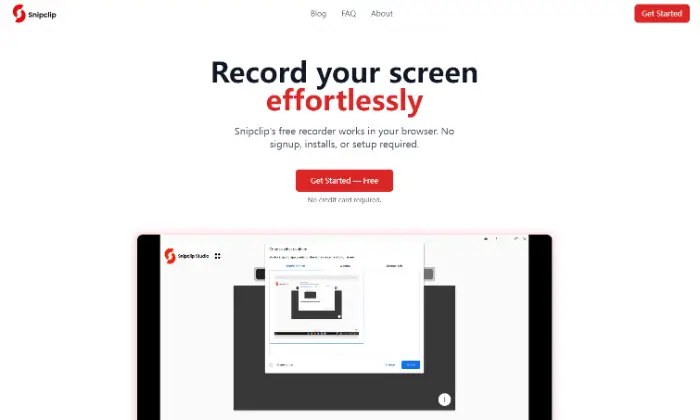
✨Snipclip is a simple and easy-to-use online screen recording tool, especially for users who need to share quickly. There is no need to download software, recording can be done through your browser.
✅Strengths:
- No Installation Required: Completely web-based, cross-platform compatibility, available anytime, anywhere.
- Easy to use: Extremely simple interface, just a few clicks to start recording.
- Quick Share: You can download the video file directly after recording, convenient and fast.
🔮Operational Steps:
Step 1: Visit the official Snipclip website with your browser and click the “Get Start” button on the page.
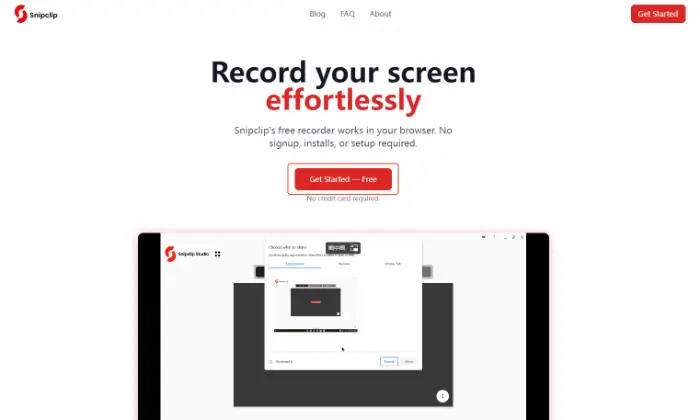
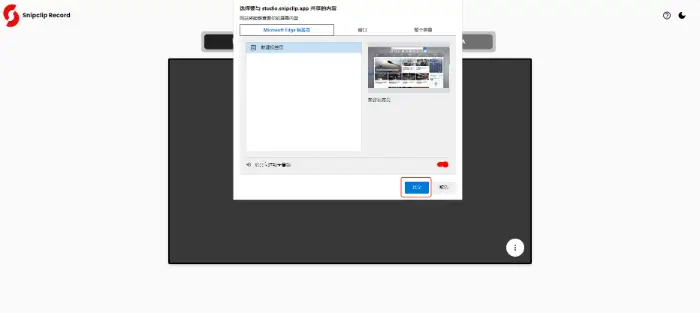
Step 2: Click “Select Screen” and your browser will ask for screen sharing permission, select the screen, application window, or browser tab you want to record, and check whether to share audio or not.

Step 3: Click the “Share” button to start recording. When you finish recording, click the stop button.
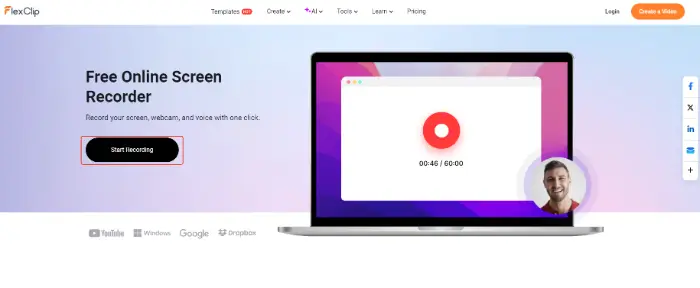
3.FlexClip
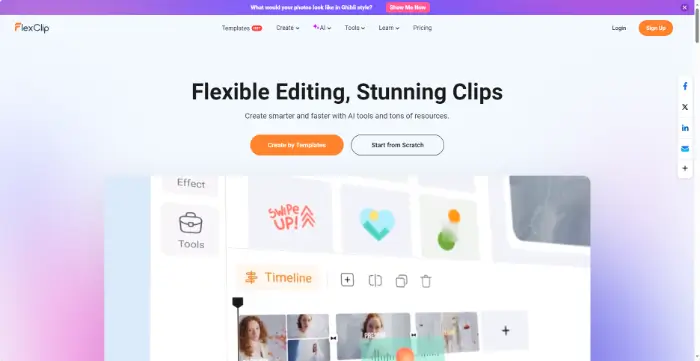
✨FlexClip, as an online video production platform, not only supports screen recording but also provides rich video editing functions, suitable for creators to make diverse editing and creation.
✅Strengths:
- Online Integration: Recording and editing are seamlessly integrated and can be processed directly in FlexClip’s online editor after recording.
- Templates galore: Ideal for quickly creating professional-looking demo videos, tutorials, or social media content.
- Cloud storage: Projects and materials are stored in the cloud for easy collaboration and cross-device access.
🔮Operational Steps:
Step 1: Visit the FlexClip website, find the “Record Screen” button, click on it to enter the screen recording interface.
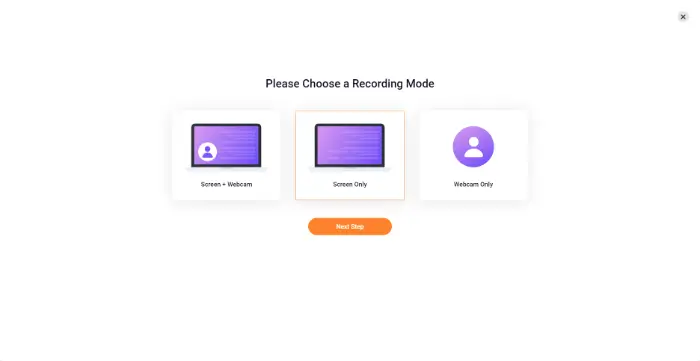
Step 2: Select the recording mode, region, and audio settings. After that, the browser will request screen-sharing permission, follow the prompts to select the recording content, and authorize it.
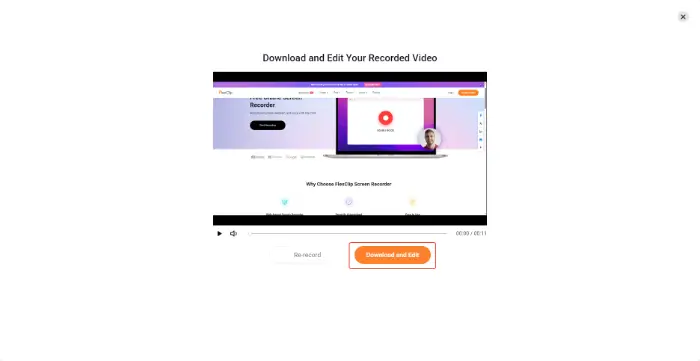
Step 3: After the recording is finished, you can download the recording and save it on your computer, or you can edit it directly with video editing tools.
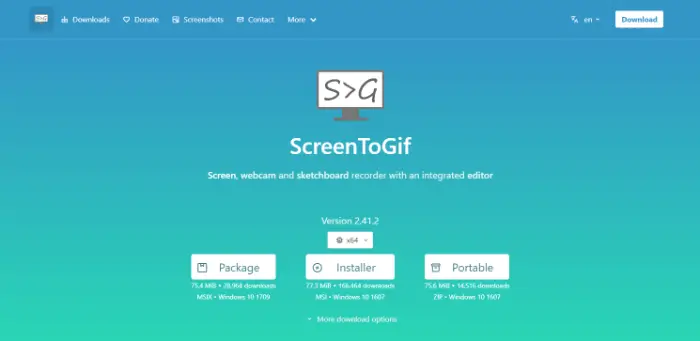
4.ScreenToGif
✨ScreenToGif is a screen recording software focusing on GIF creation, which allows users to easily record the screen and convert the video to GIF format directly after recording, which is suitable for sharing lightweight content.
✅Strengths:
Frame Level Editor: Built-in powerful editor, you can view, delete, edit, add text, watermark, blur effect, etc. frame by frame.
Multiple Outputs: In addition to GIF, export to APNG, video (MP4, AVI, etc.) is also supported.
🔮Operational Steps:
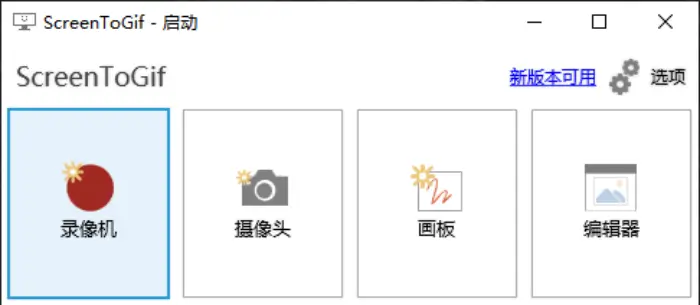
Step 1: After opening the software, click the “Video Recorder” option in the main interface.
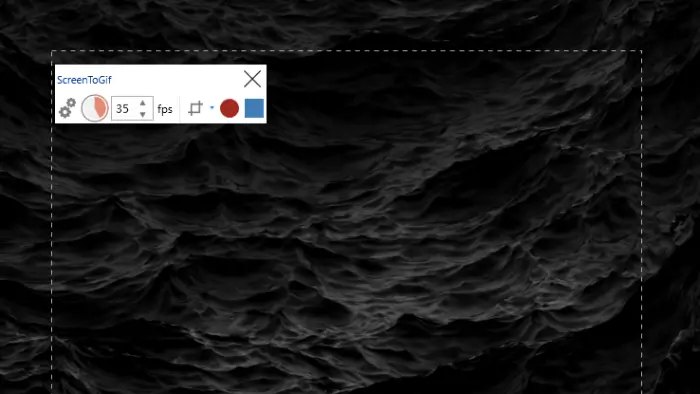
Step 2: A window with a transparent center area will appear, drag the borders or enter the exact dimensions to adjust the recording area to cover what you want to record.
Step 3: Click the “Record” button at the bottom right corner (or press F7) to start recording. Click the “Stop” button (or press F8) to end the recording. The recorded frame sequence will be automatically loaded into ScreenToGi’s editor.
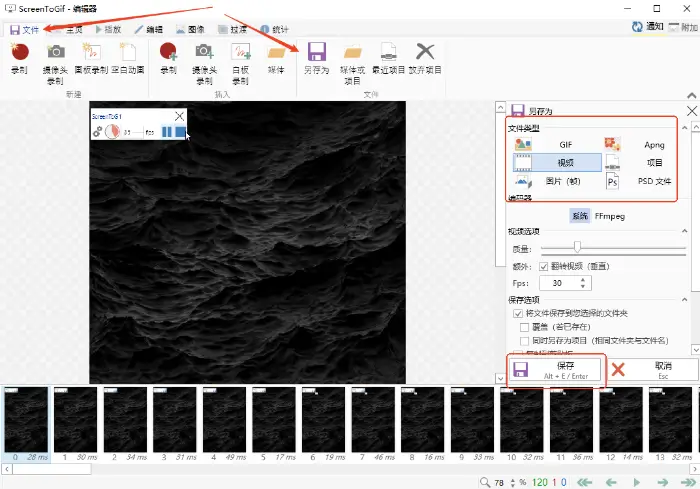
Step 4: Make necessary changes in the editor, click “File” – “Save As“, choose the desired format, adjust the settings, and save.
How to choose the right screen recording tool
| 1️⃣Temporary or Quick Recording | Prioritize tools built into the operating system or online tools like Snipclip |
| 2️⃣Requires Editing Functionality | WorkinTool VidClipper or FlexClip provides an all-in-one experience from recording to editing! |
| 3️⃣Creating GIF Animations | ScreenToGif is the way to go |
| 4️⃣Game Recording | Xbox Game Bar for Windows or more specialized game recording software (e.g. OBS Studio, Bandicam) may be more appropriate |
In a nutshell, “How do I enable screen recording?” There are multiple answers to this question.📖 From convenient features that come with your operating system, to feature-rich specialized software, to flexible online tools and apps that focus on specific formats,⭐ there’s always one to meet your needs.🥳
🎊Hopefully, with this thorough guide, you’ve gained a clear understanding of how to enable screen recording and can confidently choose and use the right tool for your specific scenario and needs.✨