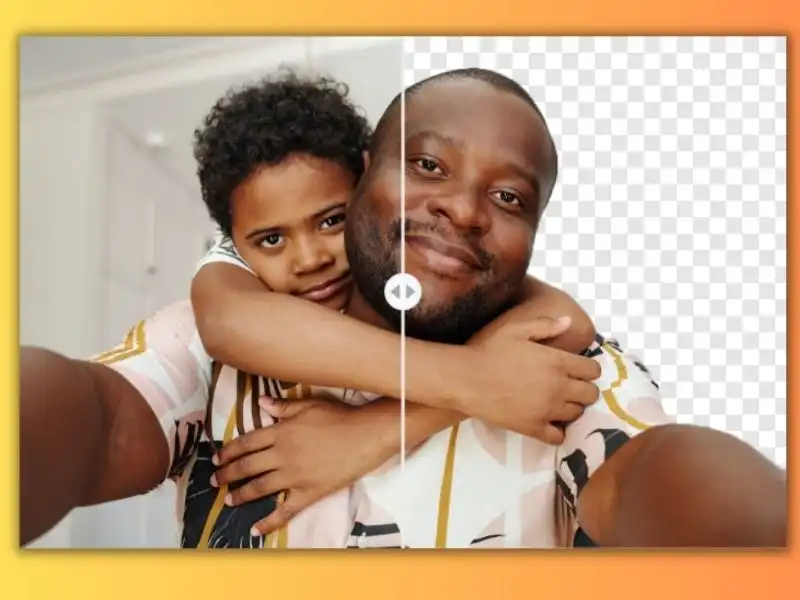
How to Add Someone to a Picture: With or Without Photoshop
Adding someone to a picture can be fun to create a unique and personalized image. And with the development of technology, the choice of an image editor is no longer limited to Photoshop. However, it is still the choice of many professional photographers and designers. But it is too complex and expensive for amateurs. For people who want a better image editing experience with simple processing steps, WorkinTool Image Converter is your best shot. Come and try it out!
😍 1. Up to FREE 5 image batch conversions and compression try-out.
🤩 3. Easy interface for users to edit with THREE STEPS.
😎 4. Support more than 100 different image formats to operate.
🥳 5. Cover all the features that you can on the market and interesting filters.
😊 6. Available for image conversion, compression, matting, watermark, and more.
How to Add Someone to a Picture: With or Without Photoshop
There are situations when you take a group photo where someone is missing or wants someone to be in another image he wasn’t. In the past, due to immature retouching tools and techniques, there would be a sense of conflict when you tried to paste a person into another picture. However, with modern photo editing tools, you can add someone to an image and make it look more realistic. You don’t even know that they are from different pictures. This guide will walk you through how to add someone to a picture by various methods, from beginner-friendly WorkinTool Image Converter to traditional software like Adobe Photoshop. Follow our step-by-step instructions and master the art of seamless photo editing!
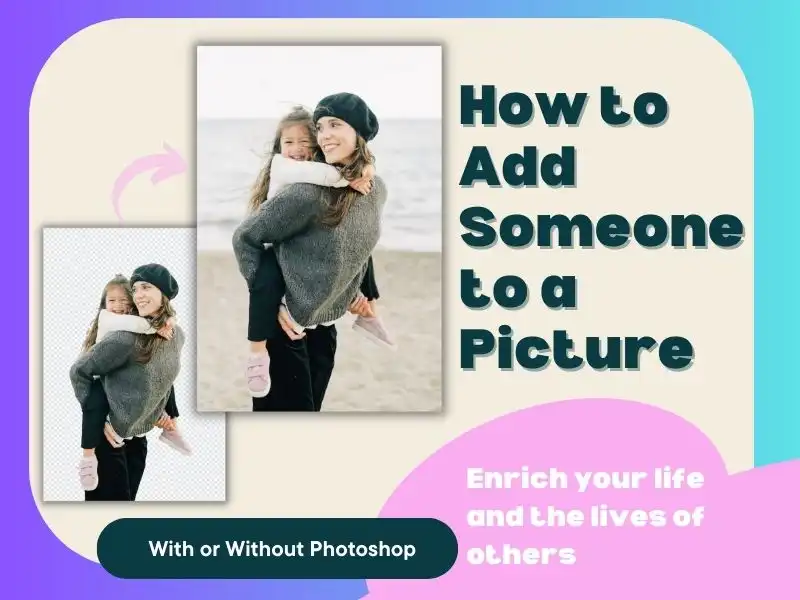
How to Add Someone to a Picture: Preparing Your Images
Before you officially start the editing process, preparing your images is essential. And for this part, there are some elements that you should notice. In case of useless work with unsatisfying effect, check out these following tips:
- Choose high-quality images: When selecting photos, ensure the original photo and the image of the person you want to add are high-resolution and well-lit. This will provide a more realistic result after finishing.
- Match lighting and perspective: You need to ensure that the lighting and perspective in both images are similar. If not, there would be more details you need to adjust. And you could have more trouble to handle.
- Use a transparent background: Directly use an image of the person you want to add with a transparent background. This will make separating the subject from the background easier and blend them into the new image. If you don’t have one, that’s ok. You can also use image editors to make a transparent background and add it to another picture.
How to Add Someone to a Picture With Photoshop
Millions of photographers and designers use Adobe Photoshop as the industry standard image editing software. You can see it everywhere, from editing photos and fine-tuning artwork to creating website designs. And this tool is so powerful and has worked from 1990 to today. With Photoshop, you can remove unwanted objects from an image, change backgrounds, adjust lighting and color, merge multiple photos together, and apply filters to create all kinds of visual effects. You will be able to have total control over image editing and processing. You will get all the tools for selections, layers, color correction, retouching, and effects. It has become the go-to software for anyone interested in professional photo and graphics editing. However, it also shut many people out due to its over-charge price and complex learning curves.
However, we will still show you how to add a person to another picture using this tool.
Follow these steps to use Photoshop:
- Add Pictures: Open Photoshop and import the background photo and the image of the person you want to add.
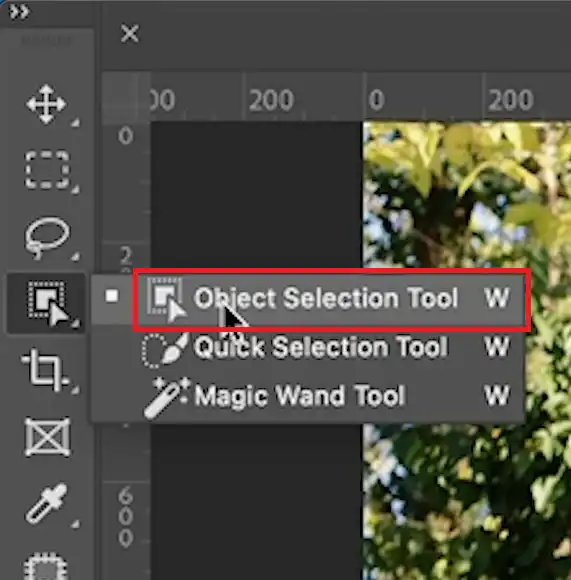
- Extract the new person: If you don’t have the person’s photo with transparent background, use the “Quick Selection Tool” to select the person accurately. Once selected, right-click and choose “Layer via Copy” to create a new layer with the selected person.
- Match lighting and perspective: Go to “Image > Adjustments” options and adjust “Levels,” “Curves,” and “Color Balance” to match the lighting and color of the new person to the original photo.
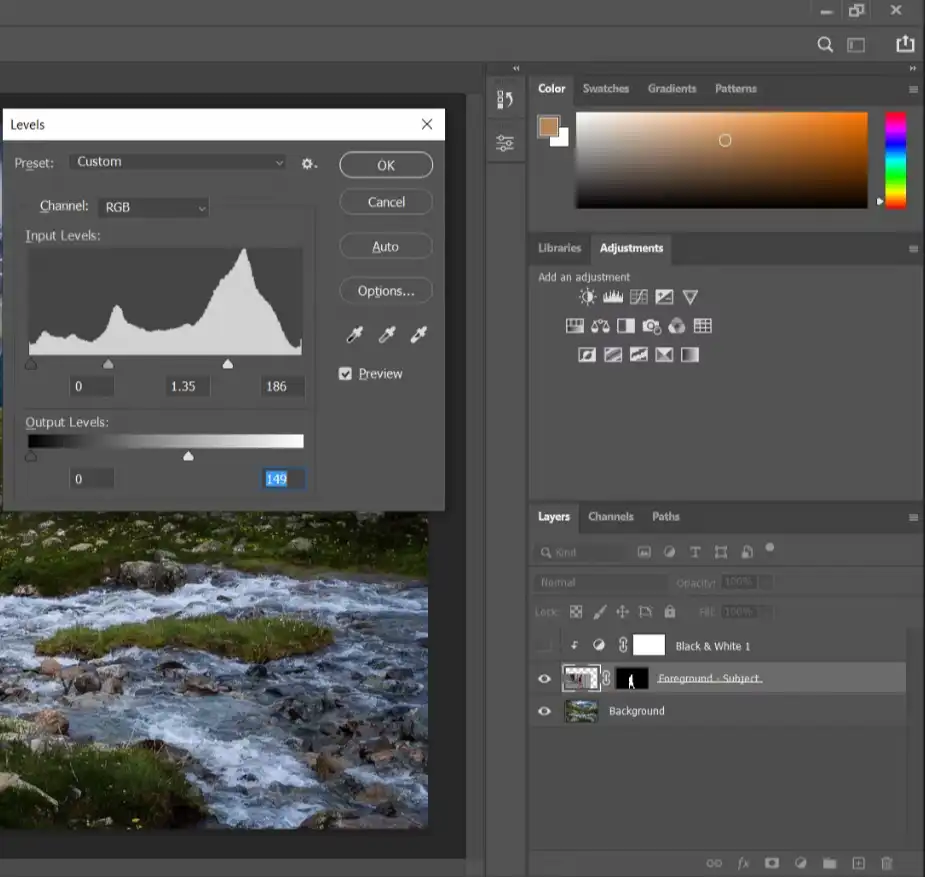
- Blend the edges: There are also an “Eraser Tool” tool and a “Layer Mask” feature to hide unwanted areas or refine the edges. And then, you can blend the edges of the person with the new background.
- Add shadows or highlights: If you want to make this person seems more natural with the new background, add shadows or highlights to match the lighting of the original photo. First, create a new layer below the person’s layer, and use a soft brush with low opacity to paint the shadows or highlights.
- Save and export: After editing, save this picture as a PSD file or export the final image in other standard formats like JPEG or PNG…
How to Add Someone to a Picture Without Photoshop
Since the time comes to 2024, Adobe Photoshop is no longer the necessary image editing tool anymore. There are a lot more image editing applications that you can choose rather than Photoshop. Among all those image editor choices, we recommend that you can try WorkinTool Image Converter. This is an extraordinary alternative available that you can use to cut out a person from one picture and paste him into another. In the meantime, it also offers many other image features you might be interested in.
WorkinTool Image Converter

WorkinTool Image Converter is a fantastic image-processing helper that is dedicated to getting your image edited and polished. With new AI-powered technology, you can enhance your photos like a pro without being an actual one. WorkinTool Image Converter provides the most straightforward tools to get a person or an item out of the background. And then customize a new background as you like. All of these can be achieved within five seconds. It offers AI mode and manual settings for you to adjust the details. It is way easier than Photoshop to add someone to a picture.
Except for these two features, there are more editing functions for you to explore. You can convert over 100 different image formats in batches for FREE. Image compression and DPI conversion are also available. Not to mention there are many fun filters to apply. Even if you have never edited images before, this tool will definitely provide the extreme experience that Photoshop won’t be able to offer
- 100 +image formats conversion available
- Customize to enlarge or compress images
- Add or remove photo watermarks
- Change or remove the image background
- More than 65 image filters to apply
How to use it:
1. Open WorkinTool Image Converter and navigate to the Matting option.
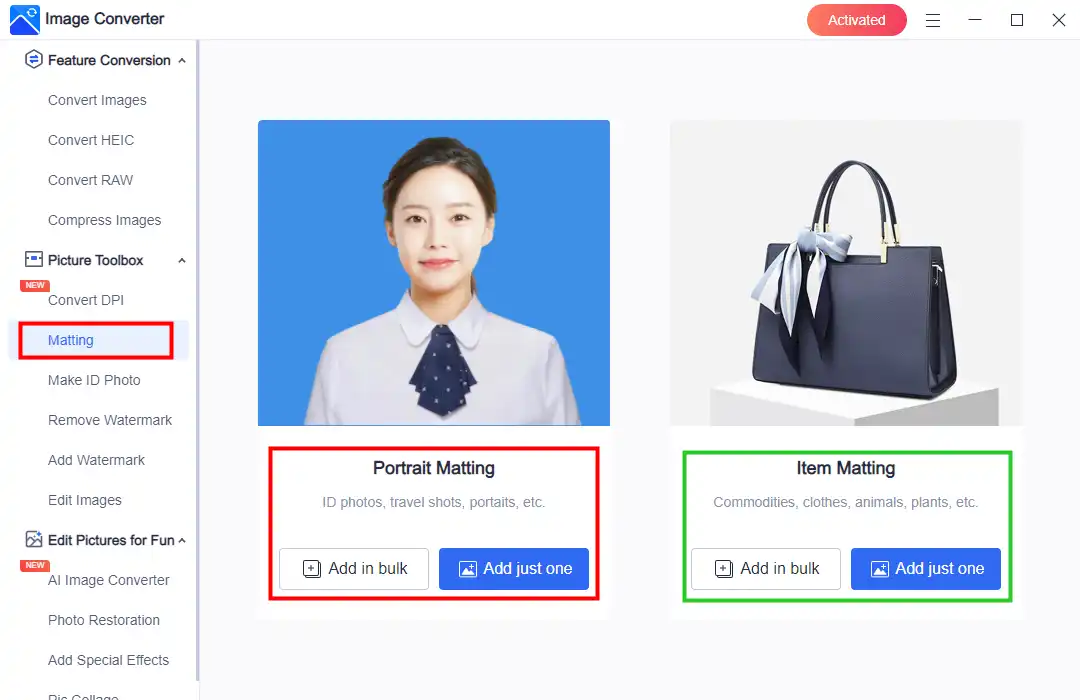
2. Choose ‘Portrait Matting’ and add the picture with a person you want to add.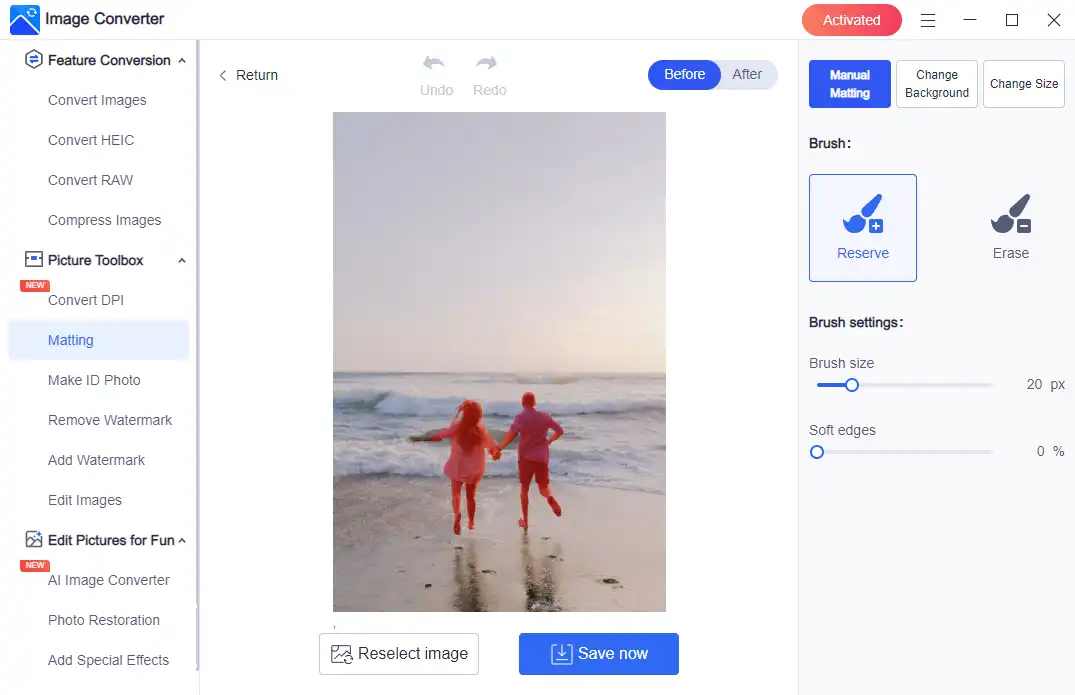
3. Then, wait for the AI algorithm or manually to cut out people you want to paste on other places.
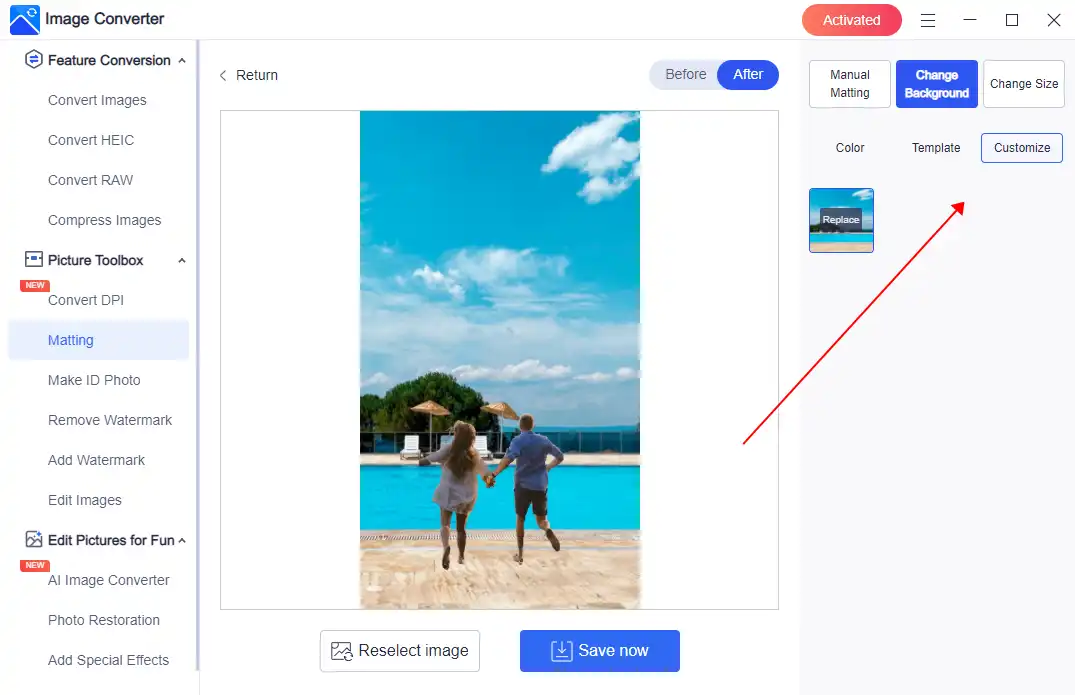
4. Then, click Change Background > Customize to add the background image. Adjust it to the best effect.
4. Finally, Switch the Before/After button to check the result. If it is ok for you, click Save Now.
🎉 More Helpful Tutorials for WorkinTool Image Converter 🎉
Tips for a Seamless Result
In order to get the most realistic and seamless results after adding someone to a picture, you’d better keep these tips in mind:
| Choose images with similar lighting: | As we said before editing, you should pick images with similar lighting. In that case, you can make the final result look natural. |
| Pay attention to shadows: | Shadows are also a big part of a picture. Observe the direction and intensity of shadows in the original photo and try to replicate them in the new picture. |
| Zoom in for details: | When editing your picture, don’t forget to zoom in and examine your work closely, especially the edges of the added person. This will help you catch any imperfections and ensure a seamless blend. |
| Practice patience: | Lastly, editing photos can be a time-consuming process, especially when using complex Photoshop. Be patient and take your time to achieve the best result. Or directly use WorkinTool Image Converter. |
Conclusion
Now that you should know, adding someone to a picture is easier than ever with the help of modern photo editing tools. This tutorial has included methods and tools from beginner-friendly WorkinTool Image Converter to traditional Adobe Photoshop. Following our step-by-step guide and keeping our tips in mind, you can create a seamless and realistic final image that will impress your friends and family.
Also, keep remembering that practice makes perfect. So don’t be discouraged if you didn’t get it right the first few times. With time and experience, you should be able to get this work in hand and create stunning images that capture your vision. Go to try it for yourself right now.
